Zoom
Contents
- 1 Introduction
- 2 Zoom on Windows 10
- 3 Zoom on iOS 10.3.3+
Introduction
The purpose of this article is to show highlighted features of Zoom. Full documentation on using Zoom can be found at: https://www.csun.edu/it/zoom
Zoom on Windows 10
This section describes using certain features of Zoom on the Windows 10 platform.
Downloading and Installing Zoom
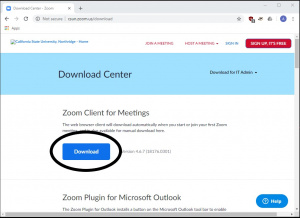
1. Go to https://csun.zoom.us/download
2. Click on “Download” under “Zoom Client for Meetings”.
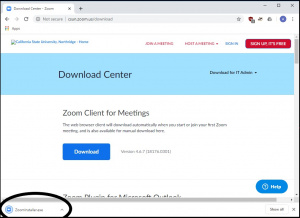
3. Click on the installer that appears at the bottom.
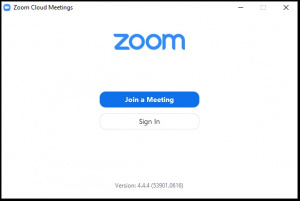
4. Allow the installer to run. Once finished, you will be at the launch screen:
Launching Zoom
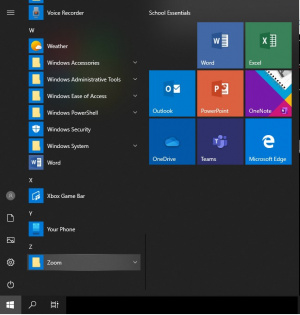
Once Zoom is installed, it can be launched by clicking the "Start" button and scrolling down to "Zoom".
Joining a Zoom Meeting
If you received an email invitation to a Zoom meeting, simply click on the link in the invitation.
If you did not receive an invitation, ask the meeting organizer for a meeting ID number and follow the steps below to join the meeting.
1. Launch Zoom
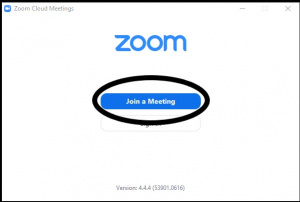
2. At the launch screen, click “Join a Meeting”.
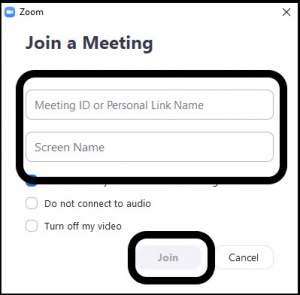
3. Enter the Meeting ID (provided by the Meeting Organizer), a display name (visible to other attendees), and click “Join”.
Hosting a Zoom Meeting
1. Launch Zoom.
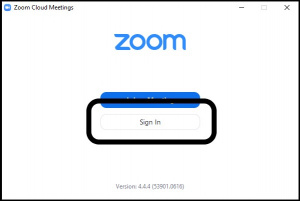
2. At the launch screen, click "Sign In".
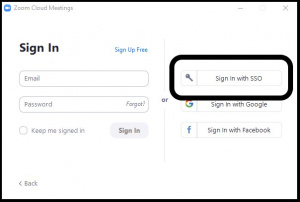
3. Click "Sign in with SSO".
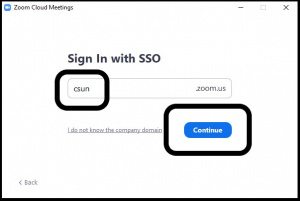
4. Type "csun" in the box, then click "Continue".
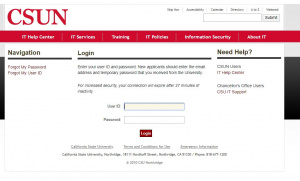
5. Your web browser will open the CSUN SSO page. Enter your CSUN credentials and click "login".
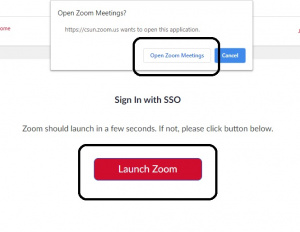
6. Depending on your web browser, Zoom may launch automatically, or ask for permission. If your web browser asks to launch Zoom, click "Open Zoom Meetings".
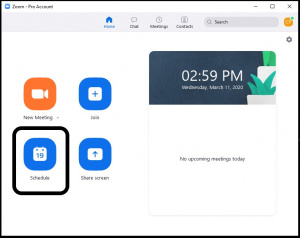
7. From the home screen of Zoom, click "Schedule".
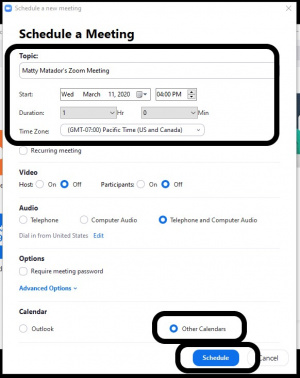
8. In the "Schedule a Meeting" window that opens, fill in the "Topic" section as applicable. The "Video", "Audio", and "Options" settings can be left as default for the majority of meetings. Under the "Calendar" section, click "Other Calendars". Then click "Schedule".
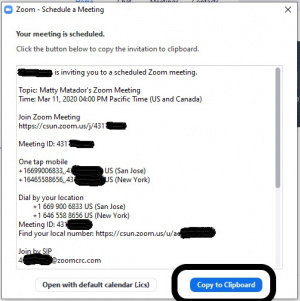
9. In the window that opens, click "Copy to Clipboard". Then click the "X" in the top-right of the window to close it.
10. Open your email application (Outlook, Gmail, Apple Mail), compose a new email, and paste the meeting information. Send the meeting information via email to whomever needs to attend the meeting.
Finding Your Meeting ID
If you are the Meeting Organizer and need to find the meeting ID for a meeting that you scheduled, follow the steps below:
1. Launch Zoom.
2. On your home screen, any scheduled and upcoming meetings will show on the right-side of the screen, with the Meeting ID. Give this Meeting ID to anyone that needs to join.
Resend a Meeting Invitation
If you would like to resend a meeting invitation, follow the steps below:
1. Launch Zoom.
2. From the home screen of Zoom, click "Meetings".
3. Scroll down to the desired meeting and click "Copy Invitation".
4. Open your email application (Outlook, Gmail, Apple Mail), compose a new email, and paste the meeting information. Send the meeting information via email to whomever needs to attend the meeting.
Using the "Raise My Hand" Feature
As a Host
If you are the host you'll be able to lower hands and view how many hands are raised.
To lower hands, follow the steps below:
1. Click on "More".
2. From the "More" menu click on "Manage Participants".
3. To lower all hands in the "Manage Participants" page, click on "More".
4. From the "More" tab click on "Lower all hands".
5. If you want to lower only one hand, In the "Manage Participants" page hover over the person's name and click on "Lower Hand".
As a Participant
Adding Alternate Hosts
Lorem ipsum dolor sit amet
Giving Host Control to Someone
Lorem ipsum dolor sit amet
Zoom on iOS 10.3.3+
Lorem Ipsum Dolor Sit Amet
